Here's Shell...
Hi There!
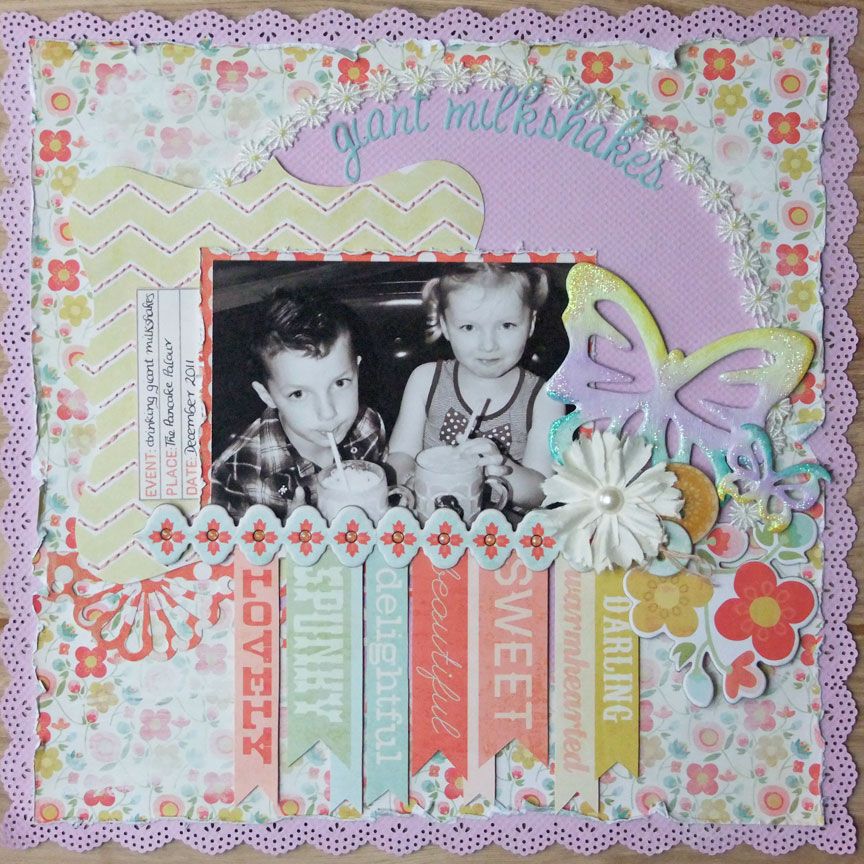
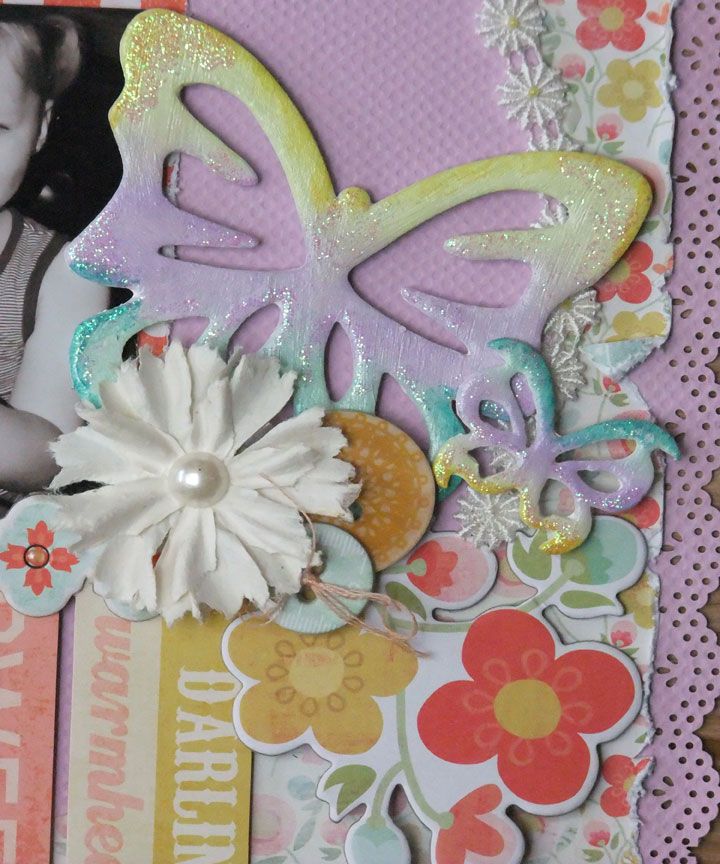
Today I would like to share with you how I altered the chipboard butterflies in the Album Kit that I did on this page. This technique is called Ombre which is different colours or tones that shade into each other. Ombre is a hot trend in scrapbooking right now!
You will need
Gesso
3 complimenting colours of pan pastels or chalk inks in pastel colours (Pan pastels Violet Tint 470.8, Permanent Green Tint 640.8 & Hansa Yellow 220.8)
2 ink colours which are a darker tint to the original 3 colours you chose. EG I have chosen lilac, lemon & mint green for my first 3 colours. For my contrasting darker colours I have chosen a dark yellow & a dark teal colour (Prima chalk inks coltsfoot yellow & teal damask)
Tattered Angels Glimmer Glam Icicle
Kindy Glitz crystalina
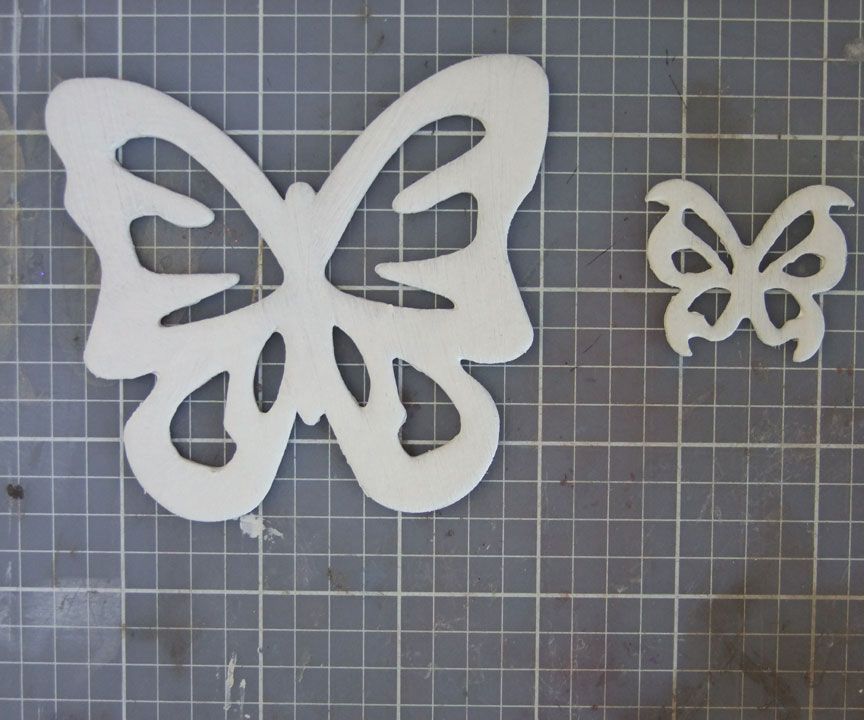
Paint 2 coats of a large & small butterfly with gesso. Leave to dry
Use the Violet pan pastel tint & colour the middle third of each butterfly using the applicator (or you could use a pastel chalk ink & use a baby wipe to apply)
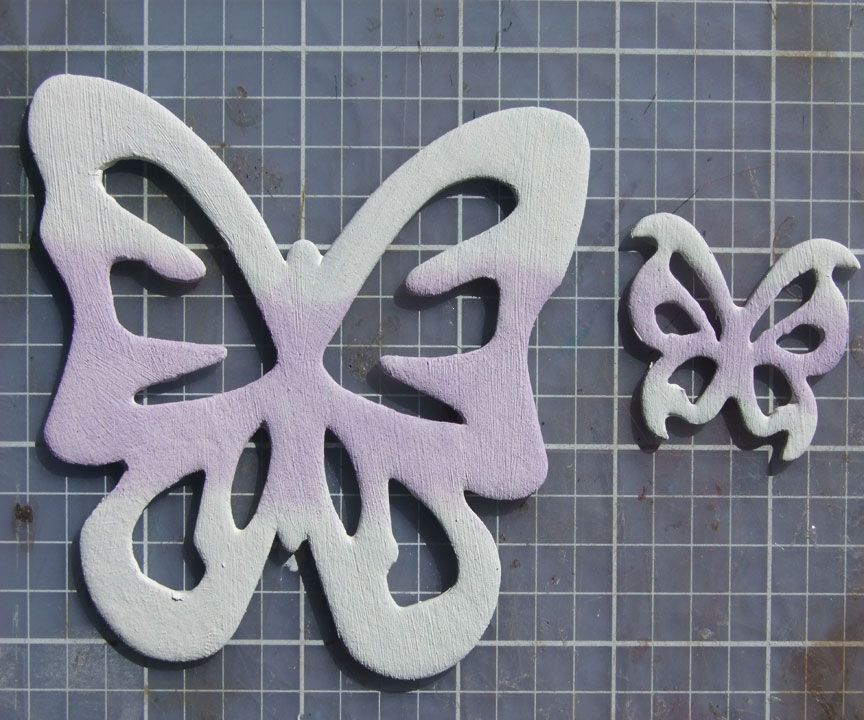
Take the large butterfly & use the Hansa Yellow tint to colour top third.
Take the small butterfly & use the Hansa Yellow tint to colour the bottom third
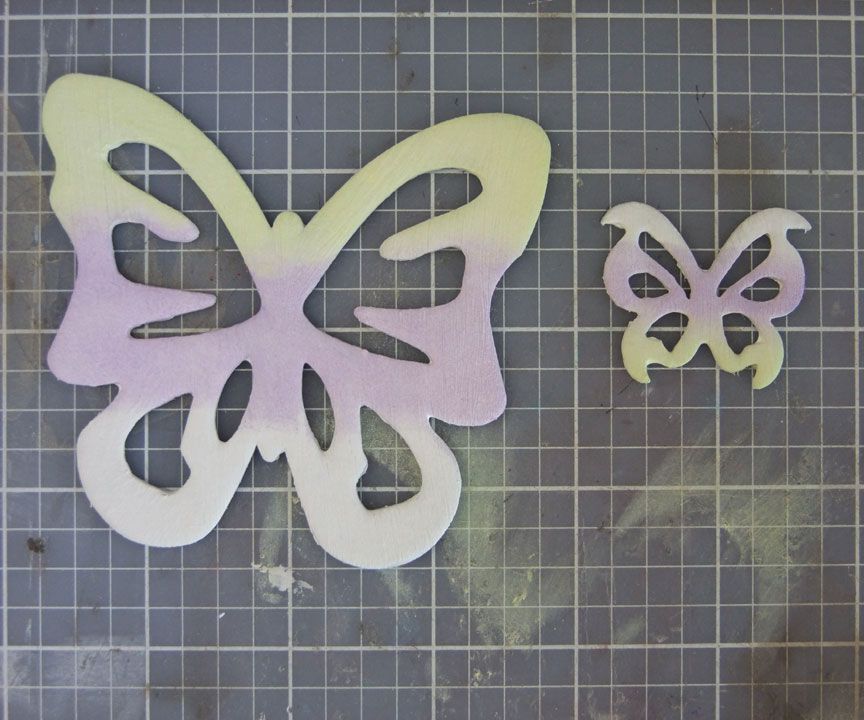
Take the large butterfly & use the Permanent Green tint to colour the bottom third
Take the small butterfly & use the Permanent Green Tint to color the top third
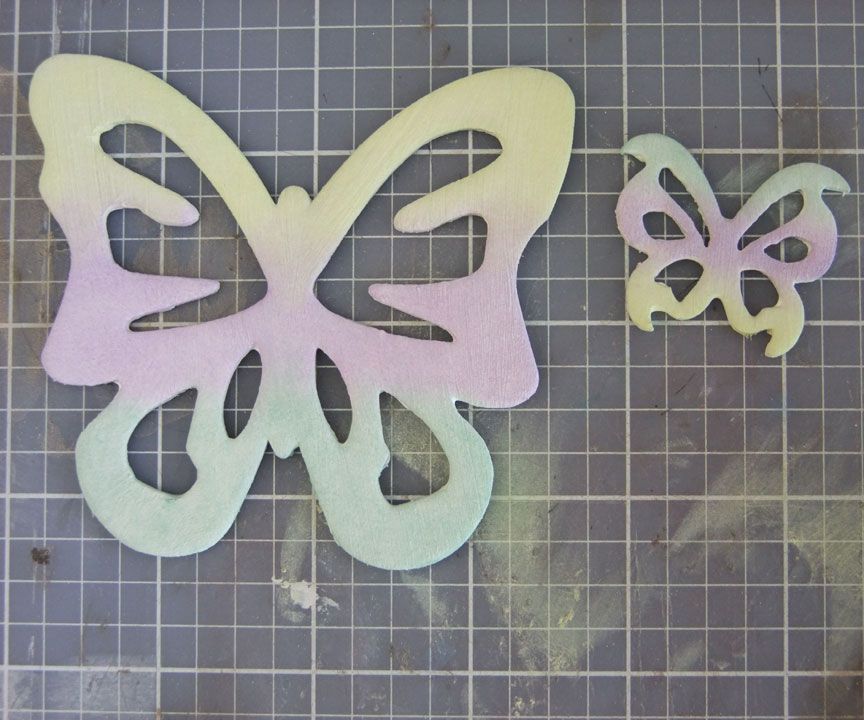
Use the dark yellow ink & ink along the top of the large butterfly & the bottom of the small butterfly

Use the dark teal ink & ink along the bottom of the large butterfly & the top of the small butterfly

Paint both butterflies with Glimmer Glam
Use some kindy glitz to add some extra sparkle
Thanks for joining me today & I hope you will give this a go!
No comments:
Post a Comment